Can I Add Avoice Over to a Youtube Video After Its Uploaded
Vocalism-over is a fantastic tool to increase views and audition retention. Withal, information technology'southward not equally unproblematic as just speaking into a microphone and throwing it onto your content for uploading; crafting a quality voice-over is essential. Here is how to add together voice-over to YouTube.
A voice-over as part of a YouTube video tin add together context to the visuals or expand on what is said to provide additional content. Creativity is critical in this loonshit. The very basics of this article concern how to add vox-over to YouTube via video editing software, so let's explore that first.
The nuts – how to add voice-over to YouTube:
ane. Open your video editing software and load your video project.
2. Upload your vox-over file to the media repository, ready for insertion into the timeline.
3. If you don't take pre-recorded content, go your microphone, and hit the record push on your audio editing application to natively record in the software.
4. Drop your voice-over audio file onto your timeline. Y'all will demand to insert the file onto an sound layer (typically A1, A2, A3, etc.). If your video already features audio, information technology will exist necessary to create a new audio track to ensure that the previous audio isn't overwritten.
5. Motion, cut, and edit the sound track around to sync and fit the oral communication with the remainder of the visual content. Actress time spent here will improve the overall result, whether synching the vox-over with the correct timing or adding effects for transitions.
6. When all the tweaks have been made, click FILE and select EXPORT. Customize your consign settings and location – and then export the content to finalize the video, ready for YouTube.
seven. Open up YouTube in your browser and log in.
8. In the elevation right corner of the screen, click the CREATE push and select UPLOAD VIDEO.
ix. A popup will direct you lot to upload a video file to YouTube – y'all can drag and drop the file onto this viewer or click it to open up file explorer to choose your desired content that way.
10. From hither, YouTube will begin uploading your video and permit you to fill up out the diverse information fastened to the video. That is how you get well-nigh it at the virtually basic level, although whatsoever video editor could probable tell you the same advice. So, allow'southward wait at how to add phonation-over to YouTube from a more than professional person production standpoint.
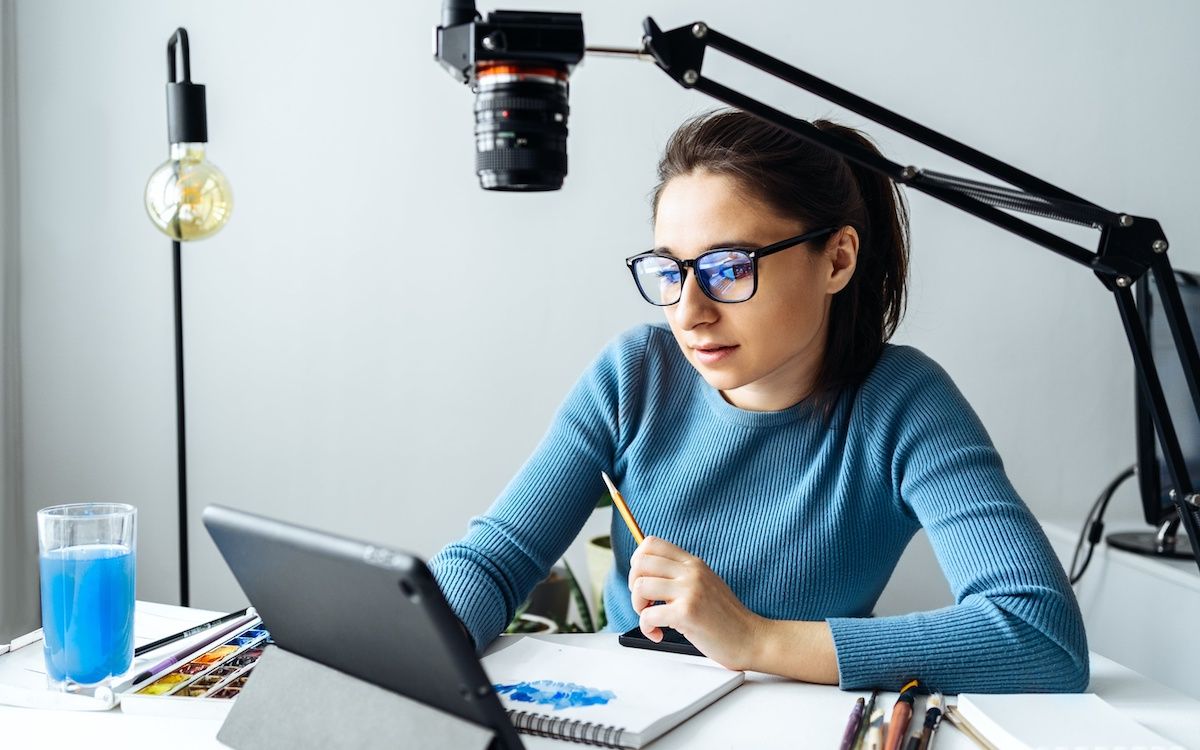
How to record vocalization-over for YouTube
Producing high-quality voice-over audio for a YouTube video requires thought and conscientious consideration to perfect. Subpar results are guaranteed if you neglect to ready your environment or practise proper microphone etiquette accordingly. Recording content personally is non for everyone; a surefire way to ensure top-quality vox-over for YouTube videos is to rent professional voice-over talents.
Setup
A decent location to record voice-over content is an absolute necessity when recording quality audio. Voice-over will e'er sound better in a treated room because information technology creates an environment platonic for soundwaves and minimal disruptions.
An acoustically treated room tin can be created affordably through a multifariousness of means. In essence, a room with bare walls and lots of empty space will produce a poor quality voice-over, likely to come up out every bit boxy and with high degrees of reverb. This is not ideal.
'Treating a room' is the human action of putting upwardly materials around a room to blot the energy from the audio waves equally they bounciness off surfaces. Cushioned, soft, and textile surfaces will get a long way in reducing the impact that a bare room can create. Closing curtains, making pillow forts, or fifty-fifty picking a room that isn't too "open" can produce far ameliorate results for adding voice-over to YouTube videos on a lower budget.
If yous are a professional, sourcing and implementing top-quality room handling is necessary. Something like an acoustic shield tin can be an excellent start signal. Y'all should be gear up afterward closing the defunction and putting upward some sound-reducing paneling.
This is non the same thing equally soundproofing. A soundproof room is audibly isolated, with no sound inbound or escaping the space. Which tin be helpful but tin can besides make the room feel entirely expressionless if overdone.
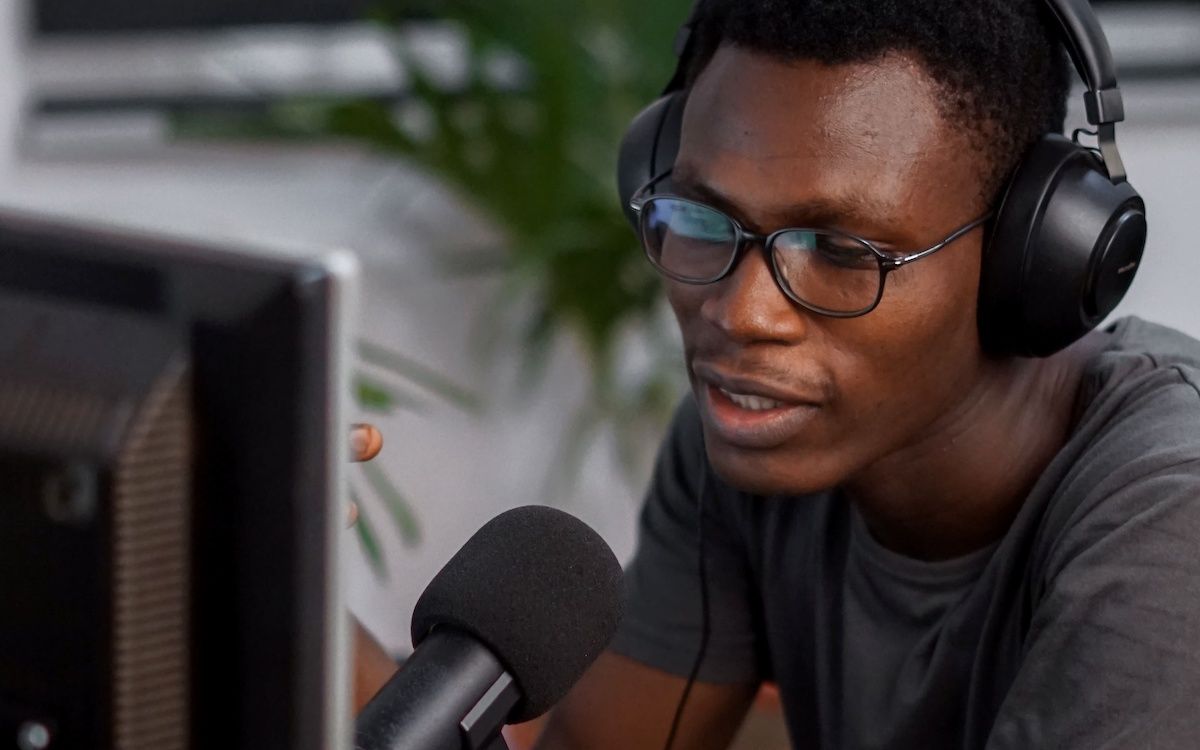
Microphone etiquette
Talking into a microphone correctly may seem trivial; however, professional microphone etiquette is important to practice to get the most out of your audio. Simply talking at your mic is a guaranteed recipe for pops in audio and messed upwards results – some of which may irreparably touch on the result. Approaching a recording session with specific rules in mind volition enhance your audio before the editing stage and is certain to make the process of adding phonation-over to your YouTube video much more straightforward. Here are a few things to remember when recording:
- Don't get too close. Ensure there is sufficient space between the speaker and the microphone. Almost 6-12 inches of space is best to ensure that distortions don't occur from loud spoken communication besides close to the mic.
- Cheque your levels. When it comes to this, the proceeds is your friend; changing the proceeds on the microphone or in the recording software volition continue loud sound from creating distortions and low input from being as well tranquillity for the mic to pick upward. Altering the gain volition assistance you account for a quiet, loud speaker, closer, or further; an essential tool.
- Stabilize your microphone. Sound doesn't just travel through the air, surfaces and object vibrations are elements of sonic influences likewise – including the mic. An unstable mic or one continuing on hard, untreated surfaces can pick up vibrations and cede the quality of the sound. A sturdy stand up sitting on a soft material can mitigate this, or fifty-fifty a microphone arm.

Equipment
Some items are crucial to any setup. Finding the right microphone for your cost range and purposes, the best editing software for voice-over and all the peripheral devices are going to be essential to achieve the best audio fidelity. First on your agenda should be acquiring the most important items:
i. A Condenser Mic: while there are some perfectly adequate USB microphones, these will not do for professional recordings. A condenser microphone is more than sensitive to sound and produces far ameliorate-quality audio. For a condenser, it's non as elementary as "plug-and-play" every bit information technology would be for a USB; however, the extra try is guaranteed to exist worth it insofar as results are concerned.
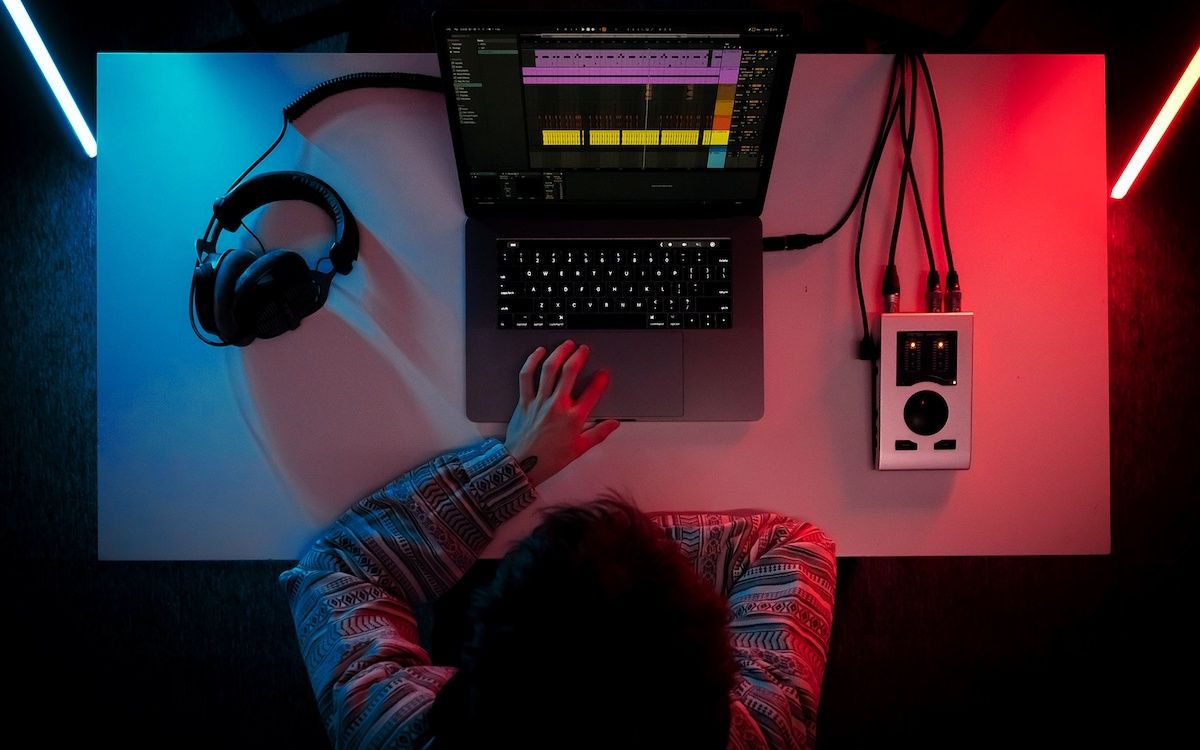
2. DAW (Digital Sound Workstation): A DAW is a device or application for recording and editing sound. Typically, these take the form of software in modern setups; hither are a few of the most popular choices:
a) Adobe Audience: Office of the Adobe Artistic Suite, access to Audition can be bundled with a variety of industry-standard software applications from Adobe. Audience is a popular DAW, oftentimes seen in video product of all sorts – this has the added do good of allowing the various applications to work in tandem.
b) Avid Pro Tools: An alternative that is ofttimes used throughout the video production industry and excellent audio editing software. There are plentiful reasons to employ this software over the alternatives, but a lot of it comes down to preferences.
c) Brazenness: A costless selection for your DAW setup. While Audacity isn't quite as polished or stylish every bit the previous choices, nor is it typically seen in-manufacture, it is perfectly serviceable and performs everything you lot need for decent, bones recording and editing.
3. Pop-filter: ever hear a bad recording that is filled with loud pops of air whenever someone says a P or F? Using a pop filter will protect the microphone from blasts of air coming from the speaker when "plosives" are spoken. These are tremendously simple gadgets, in essence boiling downwards to a canvass of textile in front of the mic to catch the plosives. You could utilize tights if you wanted, but it's far easier to only go a certified pop filter and they are fairly inexpensive likewise.
Reading this guide should put you on the path to mastering the question of how to add voice-over to YouTube video content. The importance of audio and voice communication to viewers is immeasurable, adding perfect clarity to content or context for explainer content. Whether for entertainment, commercial purposes, or corporate content; a talented explainer can get a long way.

Source: https://www.epidemicsound.com/blog/how-to-add-voice-over-to-youtube/